
In this tutorial, we’re going to see how we can deploy serverless functions alongside our front-end application and create an API that generates images and grabs metadata from links.
With serverless functions, developers can create and implement modern features and functionalities in their applications without going through the pain of setting up and managing back-end servers. The functions are hosted and deployed by cloud computing companies.
Netlify functions make creating and deploying serverless functions easy for applications hosted on Netlify.
Prerequisites
To follow along with this tutorial, you’ll need to be familiar with JavaScript, Vue.js, Git, GitHub, and Netlify. You should also have a text editor — such as VS Code) with Vetur installed (for IntelliSense) — and a recent version of Node installed on your machine. You can install Node here. You can check your version of Node by running the command node -vin your terminal.
You should also have an account on Netlify. You can create one if you haven’t already.
What We’re Building
To show how we can easily set up serverless functions with our front-end application, we’ll be building an app with a custom link previewer component.
This component sends a request with a URL to our serverless function. The function then uses Puppeteer to get metadata from the target site using the URL and to generate a screenshot of the site.
The function sends the metadata and screenshots back to the component on our front-end to display it as a link preview in the application.
Here’s the link to the example project deployed on Netlify. And here’s the GitHub Repo to follow along.
Create and Set Up the Vue Application
We’re going to create a Vue 3 application using Vue CLI. We’ll also install and set up Tailwind CSS, a utility-first CSS framework that provides classes we can use for our app without having to write a lot of custom CSS.
Install and set up Vue
To quickly scaffold a Vue application, we’ll use Vue CLI. To install Vue CLI, run:
npm install -g @vue/cli
Once the CLI has been installed, we can create a project by running:
vue create link-previewer
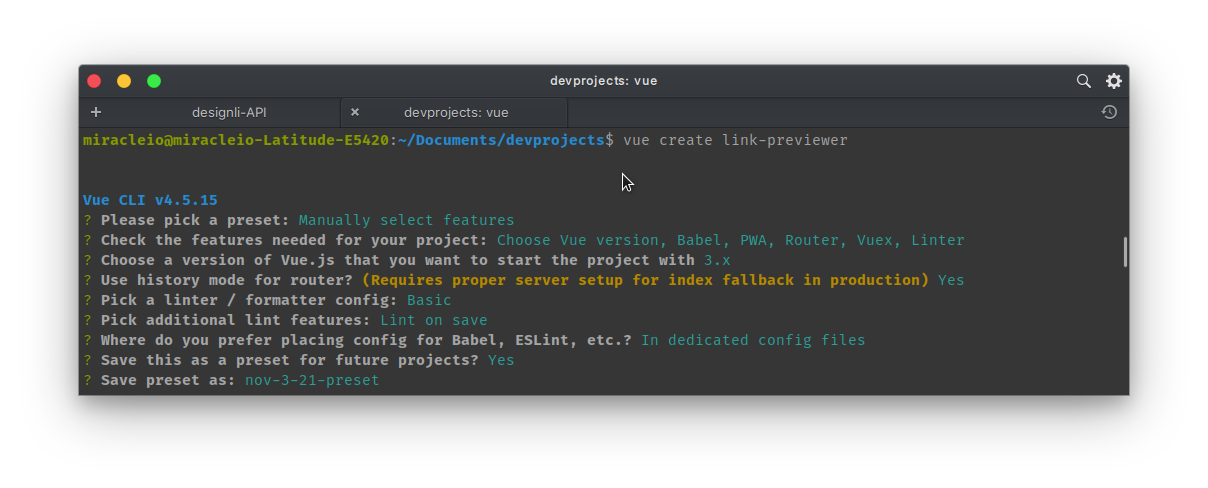
This will prompt us to pick a preset for our installation. We’ll select “Manually select features” so that we can pick the features we need. Here are the options I selected:
Please pick a preset: Manually select features
? Check the features needed for your project: Choose Vue version, Babel, PWA, Router, Vuex, Linter
? Choose a version of Vue.js that you want to start the project with: 3.x
? Use history mode for router? (Requires proper server setup for index fallback in production) Yes
? Pick a linter / formatter config: Basic
? Pick additional lint features: Lint on save
? Where do you prefer placing config for Babel, ESLint, etc.? In dedicated config files
After selecting these options, we’ll be asked if we want to save the options as a preset for later use. Select Y (yes) or N (no) and continue with the installation.
Run cd link-previewer to enter the newly created project.
Install and set up Tailwind CSS
To install Tailwind, we’ll use the PostCSS 7 compatibility build, since Tailwind depends on PostCSS 8 — which at the time of writing is not yet supported by Vue 3. Uninstall any previous Tailwind installation and re-install the compatibility build:
npm uninstall tailwindcss postcss autoprefixer
npm install -D tailwindcss@npm:@tailwindcss/postcss7-compat postcss@^7 autoprefixer@^9
Create the Tailwind configuration files
Next, generate tailwind.config.js and postcss.config.js files:
npx tailwindcss init -p
This will create a minimal tailwind.config.js file at the root of the project.
Configure Tailwind to remove unused styles in production
In the tailwind.config.js file, configure the purge option with the paths to all of the pages and components so Tailwind can tree-shake unused styles in production builds:
// ./tailwind.config.js
module.exports = {
  purge: ['./index.html', './src/**/*.{vue,js,ts,jsx,tsx}'],
  ...
}
Include Tailwind in the CSS file
Create the ./src/assets/css/main.css file and use the @tailwind directive to include Tailwind’s base, components, and utilities styles:
/* ./src/assets/css/main.css */
@tailwind base;
@tailwind components;
@tailwind utilities;

body{
  @apply bg-gray-50;
}
Tailwind will swap these directives out at build time with all of the styles it generates based on the configured design system.
Finally, ensure the CSS file is being imported in the ./src/main.js file:
// ./src/main.js
import { createApp } from 'vue'
import App from './App.vue'
import './registerServiceWorker'
import router from './router'
import store from './store'
import './assets/css/main.css'

createApp(App).use(store).use(router).mount('#app')
And that’s it, we can run our server:
npm run serve
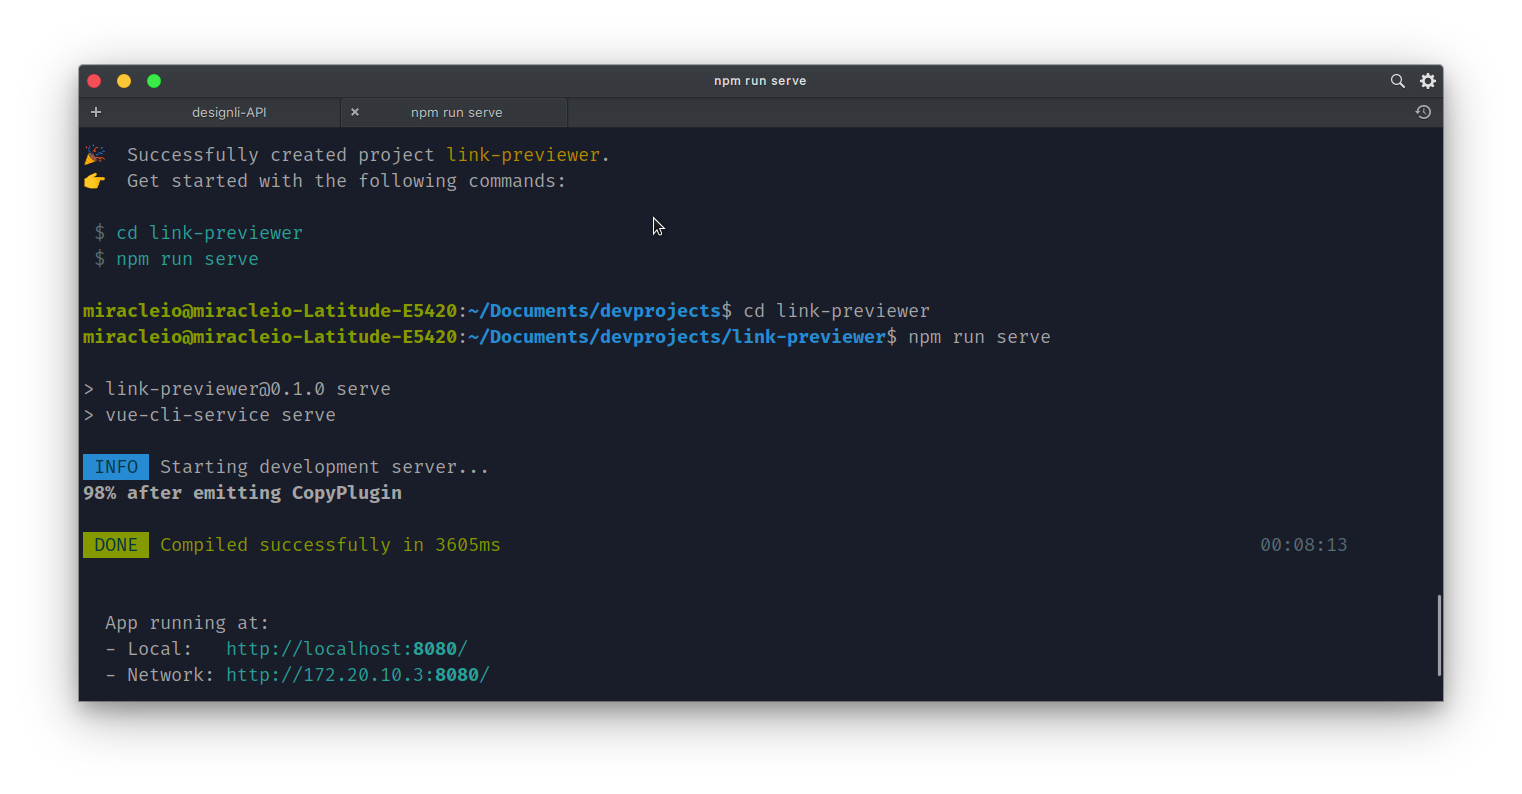
Now that the app is running, if we go to the URL provided, we should see the default demo app for Vue and see that Tailwind’s preflight base styles have been applied.

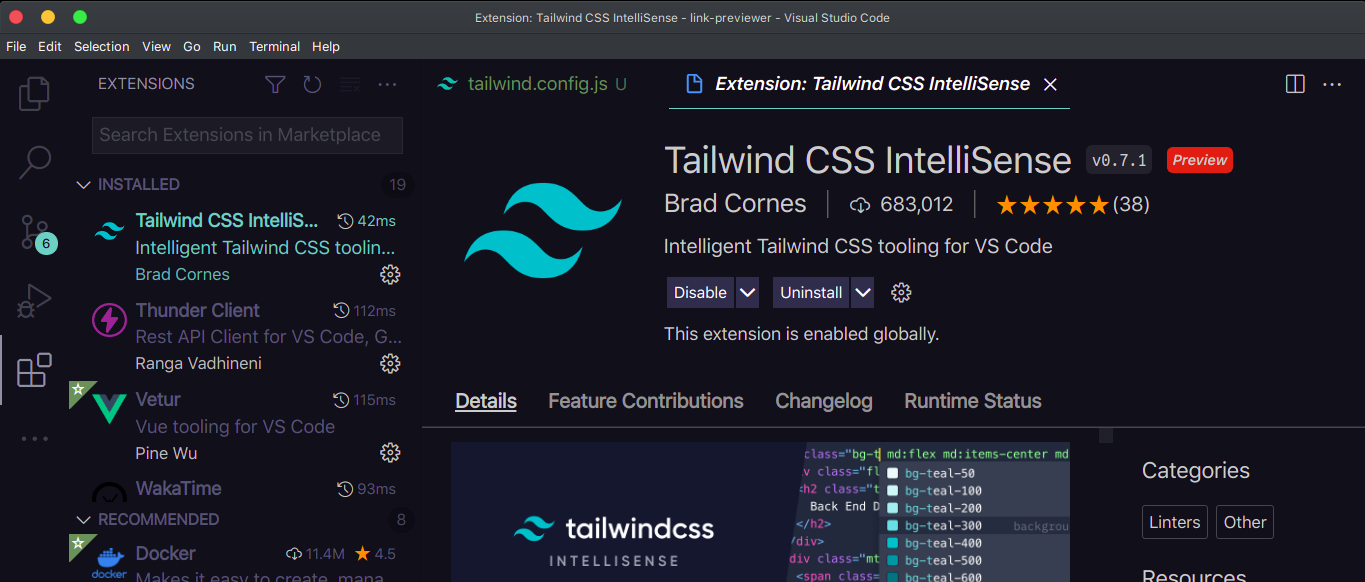
Install Tailwind CSS IntelliSense extension
For a smoother development experience, install the Tailwind CSS Intellisense extension for VS Code.
Basic app structure
Here’s an overview of what our project folder should look like:
link-previewer/
├─ functions/
│  ├─ generate-preview.js
│  └─ hello.js
├─ public/
│  ├─ favicon.ico
│  ├─ img/
│  │  └─ icons/
│  ├─ index.html
│  └─ robots.txt
├─ src/
│  ├─ main.js
│  ├─ App.vue
│  ├─ registerServiceWorker.js
│  ├─ assets/
│  │  ├─ css/
│  │  │  └─ main.css
│  │  └─ logo.png
│  ├─ components/
│  │  └─ LinkPreviewer.vue
│  ├─ router/
│  │  └─ index.js
│  ├─ store/
│  │  └─ index.js
│  └─ views/
│     ├─ About.vue
│     └─ Home.vue
├─ .git
├─ .gitignore
├─ .browserslistrc
├─ .eslintrc.js
├─ babel.config.js
├─ netlify.toml
├─ package-lock.json
├─ package.json
├─ postcss.config.js
├─ README.md
└─ tailwind.config.js
A Quick Introduction to Netlify Functions
Netlify Functions is a Netlify product that simplifies the process of creating and deploying serverless functions. According to the product’s home page, it’s used to:
Deploy server-side code that works as API endpoints, runs automatically in response to events, or processes more complex jobs in the background.
A basic Netlify Function file exports a handler method with the following syntax:
exports.handler = async function(event, context){
  return {
    statusCode: 200,
    body: JSON.stringify({message: "Hello World!"})
  }
}
Netlify provides the event and context parameters when the function is called/invoked. When a function’s endpoint is called, the handler receives an event object like this:
{
  "path": "Path parameter (original URL encoding)",
  "httpMethod": "Incoming request’s method name",
  "headers": {Incoming request headers},
  "queryStringParameters": {Query string parameters},
  "body": "A JSON string of the request payload",
  "isBase64Encoded": "A boolean flag to indicate if the applicable request payload is Base64-encoded"
}
The context parameter, on the other hand, includes information about the context in which the function was called.
Within the function, we’re returning an object with two important properties:
statusCode, which is200in this casebody, which is a stringified object.
The function will be called from our site at /.netlify/functions/hello and on success, it would return the 200 status code and the message, “Hello, World!”.
Now that we have an idea of how Netlify functions work, let’s see them in practice.
Creating Our First Netlify Function
To create our first Netlify function, we’ll create a new file functions/hello.js in the project directory and enter the following:
// functions/hello.js
exports.handler = async function(event, context){
  return {
    statusCode: 200,
    body: JSON.stringify({message: "Hello World!"})
  }
}
Once we’ve created the function file, we have to make some necessary configurations in order for us to run our function locally.
Set up Netlify configuration
We’ll create a netlify.toml file at the root of our project folder that will tell Netlify where to find our functions:
# ./netlify.toml

[functions]
  directory = "./functions"
Netlify will now locate and deploy the functions in the functions folder at build time.
Install Netlify CLI
To run our functions locally without having to deploy to Netlify, we need to install Netlify CLI. The CLI allows us to deploy our projects with some great Netlify features locally.
To install the CLI, make sure you have Node.js version 10 or later, then run:
npm install netlify-cli -g
This installs Netlify CLI globally, so we can run netlify commands from any directory. To get the version, usage, and so on, we can run:
netlify
Run the App with Netlify Dev
To run our project locally with Netlify CLI, stop the dev server (if it’s active), then run:
netlify dev
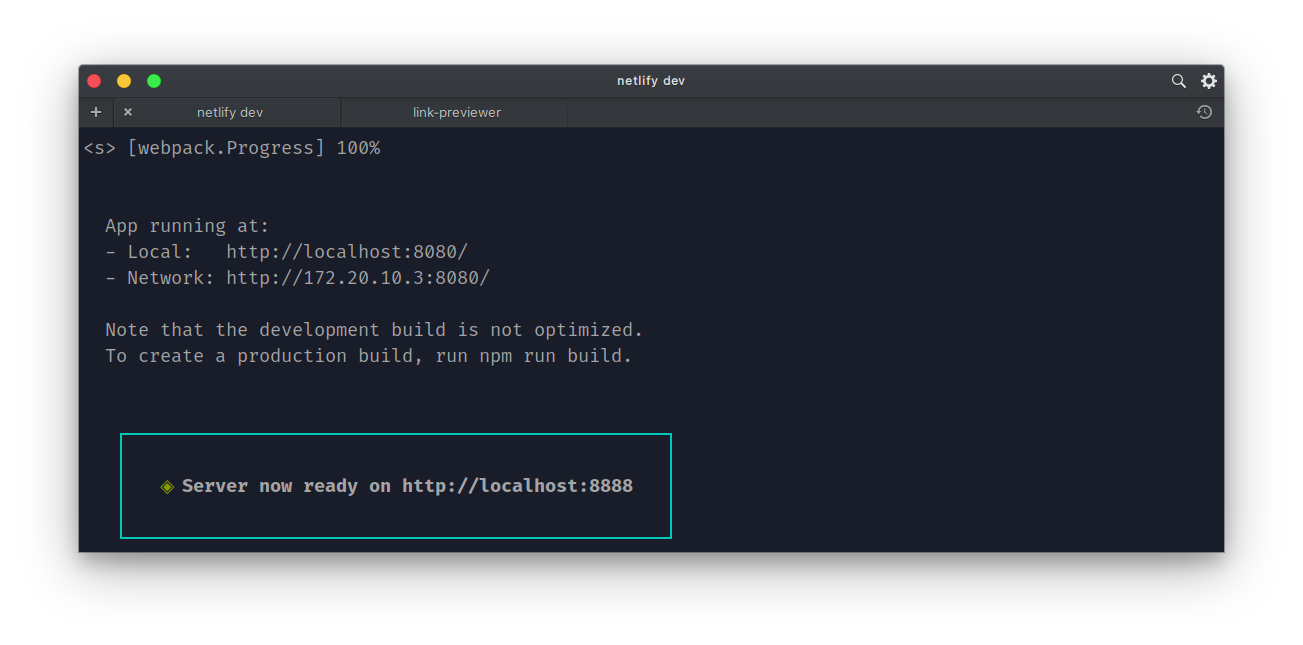
And here’s what we should see:
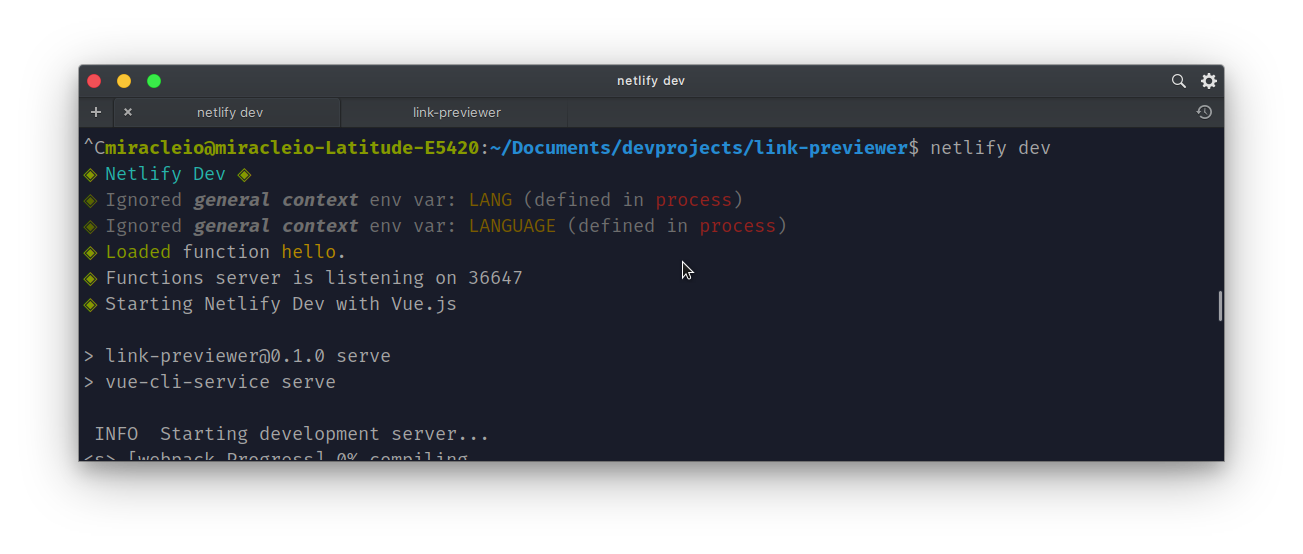
If you look closely, you’ll see a few things going on there:
-
Netlify tries to inject environment variables from our
.envfiles into the build process, which can then be accessed by our Netlify Functions. In this case, we have no.envfile, so it loads the defaults defined inprocess. -
Secondly, it loads or deploys our functions located in the functions directory. The Functions server is deployed on a different and random port —
36647. -
Lastly, it automatically detects what framework the application is built with and runs the necessary build processes to deploy the application. In this case, you can see “Starting Netlify Dev with Vue.js”. It also supports React and other popular frameworks.
Netlify then starts our development server on http://localhost:8888.
Now that our server has started and our functions arevloaded, we can call/invoke it. By default, we can access our functions using this route: /.netlify/functions/<function name>.
One important thing to note is that we don’t need to specify the port where our Functions server is running. We can use the default route above to communicate with our Functions server. Netlify automatically resolves the URL and port behind the scenes.
if we send a GET request to http://localhost:8888/.netlify/functions/hello, we should get a response of {"message":"Hello, World!"}.

Great! Our first serverless function works!
Continue reading
Build a Link Previewer with Puppeteer and Serverless Functions
on SitePoint.
