
MongoDB is a cross-platform, open-source, NoSQL database, used by many modern Node-based web applications to persist data.
In this beginner-friendly tutorial, I’ll demonstrate how to install Mongo, then start using it to store and query data. I’ll also look at how to interact with a Mongo database from within a Node program, and also highlight some of the differences between Mongo and a traditional relational database (such as MySQL) along the way.
Terminology and Basic Concepts
MongoDB is a document-oriented database. This means that it doesn’t use tables and rows to store its data, but instead collections of JSON-like documents. These documents support embedded fields, so related data can be stored within them.
MongoDB is also a schema-less database, so we don’t need to specify the number or type of columns before inserting our data.
Here’s an example of what a MongoDB document might look like:
{
  _id: ObjectId(3da252d3902a),
  type: "Tutorial",
  title: "An Introduction to MongoDB",
  author: "Manjunath M",
  tags: [ "mongodb", "compass", "crud" ],
  categories: [
    {
      name: "javascript",
      description: "Tutorialss on client-side and server-side JavaScript programming"
    },
    {
      name: "databases",
      description: "Tutorialss on different kinds of databases and their management"
    },
  ],
  content: "MongoDB is a cross-platform, open-source, NoSQL database..."
}
As you can see, the document has a number of fields (type, title etc.), which store values (“Tutorial”, “An Introduction to MongoDB” etc.). These values can contain strings, numbers, arrays, arrays of sub-documents (for example, the categories field), geo-coordinates and more.
The _id field name is reserved for use as a primary key. Its value must be unique in the collection, it’s immutable, and it may be of any type other than an array.
Tip: for those wondering what “JSON-like” means, internally Mongo uses something called BSON (short for Binary JSON). In practice, you don’t really need to know much about BSON when working with MongoDB.
As you might guess, a document in a NoSQL database corresponds to a row in an SQL database. A group of documents together is known as a collection, which is roughly synonymous with a table in a relational database.
Here’s a table summarizing the different terms:
| SQL Server | MongoDB |
|---|---|
| Database | Database |
| Table | Collection |
| Row | Document |
| Column | Field |
| Index | Index |
If you’re starting a new project and are unsure whether to choose Mongo or a relational database such as MySQL, now might be a good time to read our tutorial SQL vs NoSQL: How to Choose.
With that said, let’s go ahead and install MongoDB.
Installing MongoDB
Note: if you’d just like to follow along with this tutorial without installing any software on your PC, there are a couple of online services you can use. Mongo playground, for example, is a simple sandbox to test and share MongoDB queries online.
MongoDB comes in various editions. The one we’re interested in is the MongoDB Community Edition.
The project’s home page has excellent documentation on installing Mongo, and I won’t try to replicate that here. Rather, I’ll offer you links to instructions for each of the main operating systems:
- Install MongoDB Community Edition on Windows
- Install MongoDB Community Edition on macOS
- Install MongoDB Community Edition on Ubuntu
If you use a non-Ubuntu-based version of Linux, you can check out this page for installation instructions for other distros. MongoDB is also normally available through the official Linux software channels, but sometimes this will pull in an outdated version.
Post Installation Configuration
Once you have MongoDB installed for your system, you might encounter this error:
dbpath (/data/db) does not exist.
 Create this directory or give existing directory in --dbpath.
 See http://dochub.mongodb.org/core/startingandstoppingmongo
This means that Mongo can’t find (or access) the directory it uses to store its databases. This is pretty easy to remedy:
sudo mkdir -p /data/db
sudo chown -R `id -un` /data/db
The first command creates the data/db directory. The second sets permissions so that Mongo can write to that directory.
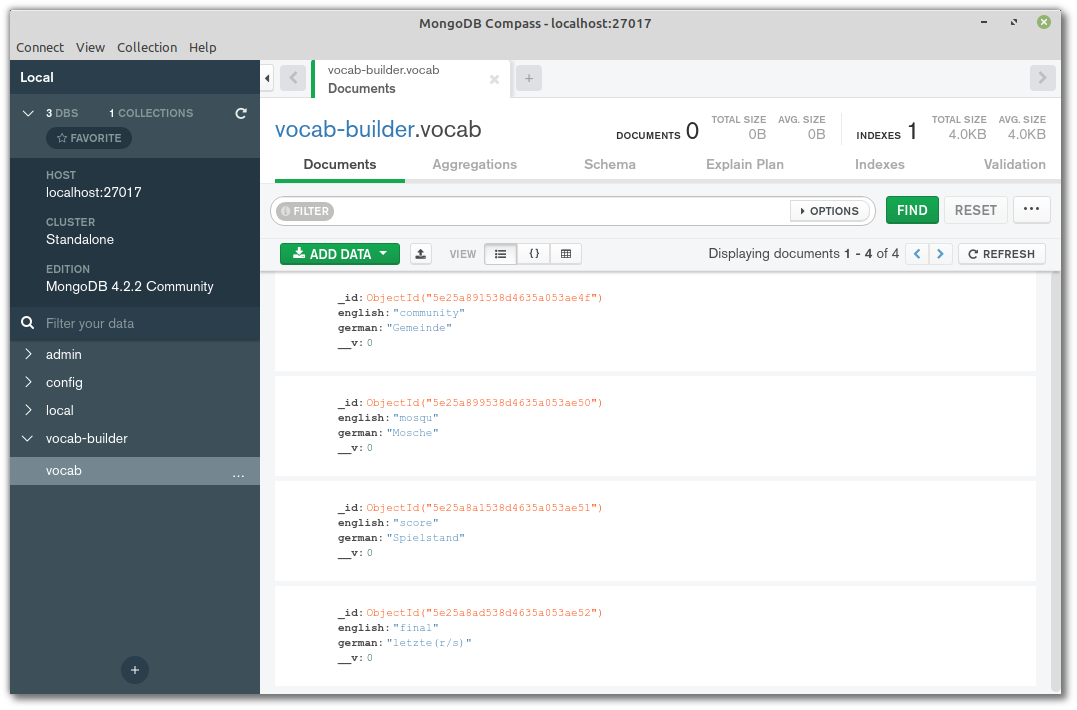
Install the Compass GUI
We’ll be using the command line in this tutorial, but MongoDB also offers a tool called Compass to connect to and manage your databases using a GUI.
If you’re on Windows, Compass can be installed as part of the main Mongo installation (just select the appropriate option from the wizard). Otherwise, you can download Compass for your respective OS here.
This is what it looks like:
The Mongo Shell
We can test our installation by opening the Mongo shell. You can do this by opening a terminal window and typing mongo.
Note: this assumes that
If you get an Error: couldn't connect to server error, you’ll need to start the Mongo server (in a second terminal window) with the command mongod.
Once you’re in the Mongo shell, type in db.version() to see the version of MongoDB you’re running. At the time of writing, this should output 4.2.2.
Please note that you can exit the Mongo shell by running quit() and the Mongo daemon by pressing Ctrl + C at any time.
Now let’s get acquainted with some MongoDB basics.
Basic Database Operations
Enter the Mongo shell if you haven’t already (by typing mongo into a terminal):
[mj@localhost ~]$ mongo
MongoDB shell version v4.2.2
connecting to: mongodb://127.0.0.1:27017/?compressors=disabled&gssapiServiceName=mongodb
Implicit session: session { "id" : UUID("08a624a0-b330-4233-b56b-1d5b15a48fea") }
MongoDB server version: 4.2.2
Let’s start off by creating a database to work with. To create a database, MongoDB has a use DATABASE_NAME command:
> use exampledb
switched to db exampledb
To display all the existing databases, try show dbs:
> show dbs

admin          0.000GB
config         0.000GB
local          0.000GB
The exampledb isn’t in the list because we need to insert at least one document into the database. To insert a document, you can use db.COLLECTION_NAME.insertOne({"key":"value"}). Here’s an example:
> db.users.insertOne({name: "Bob"})
{
   "acknowledged" : true,
   "insertedId" : ObjectId("5a52c53b223039ee9c2daaec")
}
MongoDB automatically creates a new users collection and inserts a document with the key–value pair 'name':'Bob'. The ObjectId returned is the ID of the document inserted. MongoDB creates a unique ObjectId for each document on creation, and it becomes the default value of the _id field.
Now we should be able to see our database:
>show dbs
admin          0.000GB
config         0.000GB
exampledb      0.000GB
local          0.000GB
Similarly, you can confirm that the collection was created using the show collections command:
> show collections
users
We’ve created a database, added a collection named users and inserted a document into it. Now let’s try dropping it. To drop an existing database, use the dropDatabase() command, as exemplified below:
>db.dropDatabase()
{ "dropped" : "exampledb", "ok" : 1 }
show dbs confirms that the database was indeed dropped:
> show dbs
admin          0.000GB
config         0.000GB
local          0.000GB
For more database operations, please consult the MongoDB reference page on database commands.
The post An Introduction to MongoDB appeared first on SitePoint.
