The cloud is not just for programmers anymore. Most cloud providers have simple, intuitive interfaces for managing cloud products and services. As a web designer, understanding how you can use these services can make your work life much better.
Let’s review some of the common misconceptions that prevent web designers from diving into the world of cloud computing:
Myth: Cloud storage is only useful when you need massive scalability.
One of the great things about cloud storage is that it can scale forever and ever. But that’s just one of many benefits:
Reliability
Sure, your web host says it has nightly backups. But I guarantee they have a way out for when the backup fails. Most cloud storage services provide 3 or 4 levels of redundancy across multiple datacenters in different geographic regions. Most web hosts can’t offer that.
Performance
Cloud storage improves website performance in two ways:
- If you get a spike in traffic, the cloud provider automatically replicates popular resources so it can serve up more requests at the same time.
- By moving your images, videos, and other downloads from your web server to cloud storage, your web server now has significantly fewer requests to handle. This means your webserver can handle a much higher load of pageviews before you need to upgrade.
Website Portability
Imagine if every website you ever worked on now stored all images, videos, and other larger files in the cloud. If you need to move your website from one host to another, or upgrade your shared hosting to a dedicated host– migrating is a snap! Most of the websites I work on are about 90%+ media file storage and 10% or less html/style/scripting file storage. Moving, copying, and backing up my work have become dramatically easier and faster since I started storing media in the cloud.
Myth: Cloud storage can only be accessed using API calls.
Completely false. Most popular storage services provide a web interface to manage files. And even better, there are tons of free and commercial applications that let you easily manage cloud storage from your desktop. In my experience, these programs are faster and easier to use than FTP or SSH ever was.
The program I use to manage cloud storage files is CloudBerry Explorer. It’s nice because it has a free version and it’s really easy to use. CloudBerry Explorer comes in versions that support many of the major cloud storage providers, including Amazon S3, Google Docs, Nirvanix, and Azure. It also supports FTP accounts.
CloudBerry, and other programs like it, works much like FTP software you’re already used to. You can create multiple accounts and drag-and-drop files between any locations. You can set permissions on files; organize them into directories, and much more.
Finding the right tool will be different for each web designer. I recommend checking out the most popular clients (most have a free version or a free trial) and choosing the best fit for your work. The best cloud storage clients include: CloudBerry, S3 Browser, Cross FTP, 3Hub, Panic, Transmit, S3Fox, Bucket Explorer, and Gladient.
Myth: Cloud storage is more expensive.
Sure, there are a million web hosts out there offering unlimited storage and bandwidth. But if you’ve ever tried to run a website that actually gets traffic on those hosts– you know that you get what you pay for.
Cloud storage costs are very competitive, and most popular providers offer a free tier that more than covers the needs for most small websites or startup applications.
But most important is the fact that, while you’re paying for what you use (there are no unlimited plans in cloud storage), you’re also paying for much better performance than you’ll get from a budget web host.
Myth: Cloud storage isn’t as fast a dedicated server.
This is partially true, but mostly false. If you have the best dedicate server at the best datacenter connected to the best internet backbone, you’ll get blazing fast performance… at first.
With no load, your server will be on fire. Everything will flash instantly onto your screen. Compare this to loading images from cloud storage, and you’ll notice a slight difference.
But the difference doesn’t matter once your website is launched and traffic starts to grow. Over time, your server will not be able to continue delivering blazing fast speeds. To keep up the speed you’ll have to invest in more servers, clustering, and load balancing, which in turn will diminish performance.
If you start out with cloud storage, you’ll get great performance (albeit not the absolutely best performance possible) right from the beginning. But most importantly, that performance will never diminish as your site and traffic grow. And best of all, you’ll never have to worry about managing hardware to keep your site performance up.
Here’s your checklist for doing your next project the right way… with cloud storage. I’ve outlined the steps you should take to get started with Amazon S3, but this process is very similar for other popular cloud storage providers:
1. Create Amazon AWS Account
If you don’t have one already, setup an Amazon AWS account: http://aws.amazon.com. It’s free to sign-up and most of their products and services have a generous free tier. You can pretty much play around all you want without incurring costs. You do have to put a credit card on file, but you won’t be charged until you surpass the free tier.
2. Enable S3 Service
Once you’re signed-in to your AWS management console, go to the S3 tab and enable the service.
3. Install and Run CloudBerry Explorer (Free Version)
After you install CloudBerry Explorer, find the “Source” drop down near the top of the program. Select “New Amazon S3 Account”. You’ll need an Access Key and Secret Key to continue (see next step).
4. Get Your Access Key and Secret Key
- In the Amazon AWS management console; click “Account” at the top of your screen.
- Find and click on the “Security Credentials” link.
- Scroll to “Access Credentials” and click “Show” under the Secret Access Key.
5. Create Your First Bucket
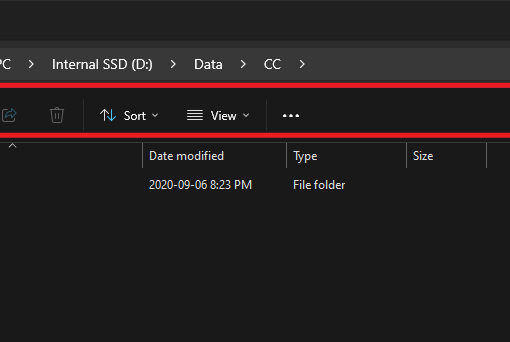
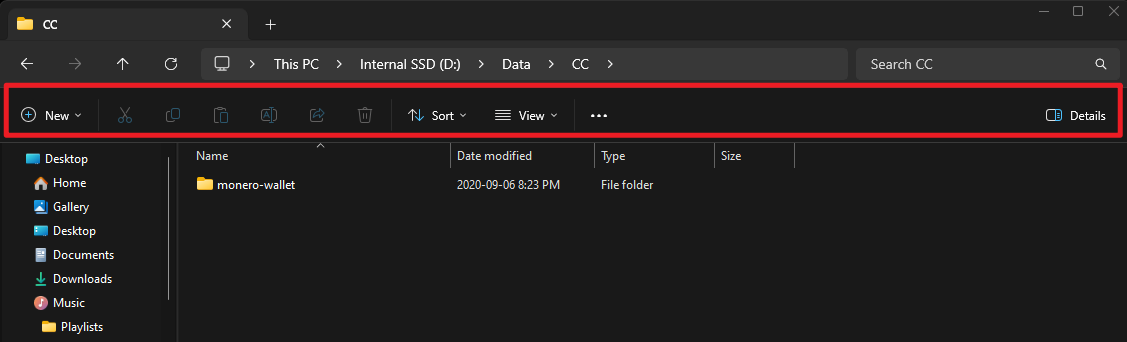
In S3, a “Bucket” is like a domain name. In fact, when you create a bucket, it will get its own unique domain name based on the name you provide. To create a bucket, click the “New Bucket” button under the Source dropdown where you added your account. It will look like a bluish/purple cube. You’ll be prompted to enter a name for your bucket. This name (like a domain name) must be unique among all Amazon S3 buckets for all users.
6. Open Up Permissions
By default your S3 bucket is locked down– only you can access files you add here. For your website, you want anyone to be able to access the files, so we need to make a change:
- Right-click on your new bucket.
- Select “ACL Settings”.
- Find the row labeled “All Users” and click the checkbox under “Read”.
- Click the checkbox “Apply for all subfolders and files”.
- Save your changes.
7. Upload your First File
First, double-click on your new bucket to open it. Then, using drag-and-drop, you can upload a file right from your computer to your bucket. For easy testing, I recommend uploading an image file.
8. View Your File
Right click on the new file you just uploaded and click on “Web URL”. This will bring up a dialog that shows the web address of your file. Copy and paste this into a browser to test.
Wow, that’s a lot of steps!
Admittedly, at first it seems like a lot of steps to get up and running. But if you think about it, these are all the same steps you’d need to do to setup an FTP account and upload files. And most of these steps you only need to do once:
- Sign-up with a service
- Create a unique location
- Configure your client software
- Configure file access permissions
Cloud storage is not the right solution for every project, especially if you’re going to have very few images. But for most websites, cloud storage can make it easier to manage the bulk of the media storage for any project.
You can even use cloud storage with CMS and blogging platforms like WordPress. WordPress has some great plugins that make it easy to store images you upload in Amazon S3. Again, one the best benefits here is portability. If you ever need to move or upgrade your WordPress site, it’s a snap. All the images you ever uploaded will be right where you put them, no matter where you host your website.
If you have questions or feedback about using cloud storage in web design, please post your comments below and I’d be happy to discuss!
Important Considerations
Keep these in mind:
AWS Accounts for your Clients
If you’re working on client projects, have your client setup their own Amazon AWS account. You’ll be able to manage the files on it using the software of your choice, but billing (once they surpass the free tier) will go straight to your client. Unfortunately, it can be difficult to keep track of traffic and storage (especially traffic) for specific files or folders in your cloud storage. You always know your total bandwidth, but knowing which files or folders are getting traffic takes a lot of work and expertise. There are a few services out there that can help, but in the end it’s just complicated. I recommend having your clients setup their own Amazon AWS account.
Continue Learning about Cloud Storage
Each cloud storage service provides a robust set of features– this article only scratches the surface of what you can do. Some features are way over the top for a regular website, but many features can be useful to web designers even for small, simple projects.
