
Svelte is a next generation way of building user interfaces.
While frameworks like React, Vue and Angular do the bulk of their work in the browser, Svelte takes it to the next level. It does its work when you build the app and it compiles your Svelte app to efficient vanilla JavaScript. So you get the best of both worlds. You write your code in Svelte which makes it easy to read, re-use and all the other benefits you get when you use a framework, and it makes for a blazing-fast web app as it complies down to vanilla JavaScript so that you don’t have the overhead of the JavaScript framework you’re using.
Svelte allows you to write less code. It also doesn’t use the concept of the Virtual DOM popularized by React. It instead surgically updates the DOM when the state of the app changes so the app starts fast and stays fast.
Prerequisites
For this tutorial, you need a basic knowledge of HTML, CSS and JavaScript.
You must also have installed the latest version of Node.js.
We’ll also be using npx, which comes installed by default with Node.js.
Throughout this tutorial we’ll be using yarn. If you don’t have yarn already installed, install it from here.
To make sure we’re on the same page, these are the versions used in this tutorial:
- Node 12.10.0
- npx 6.11.3
- yarn 1.17.3
Getting Started with Svelte
In this tutorial, we’ll be building a Tic Tac Toe game in Svelte. By the end, you’ll be able to get up and running quickly with Svelte and get started in building your own apps in Svelte.
To get started, we must scaffold our app using degit. degit is more or less the same as git clone, but much quicker. You can learn more about it here.
Go ahead and make a new project by typing the following in the terminal:
$ npx degit sveltejs/template tic-tac-toe-sveltenpx lets you use the degit command without installing it globally.
Before npx, we would have to do the two following steps to achieve the same result:
$ npm install --global degit
$ degit sveltejs/template tic-tac-toe-svelte
Thanks to npx, we don’t bloat our global namespace, and we always use the latest version of degit.
degit clones the repo https://github.com/sveltejs/template into a tic-tac-toe-svelte folder.
Go ahead into the tic-tac-toe-svelte directory and install the dependencies by typing the following in the terminal:
$ cd tic-tac-toe-svelte
$ yarn
Now run the application by typing the following in the terminal:
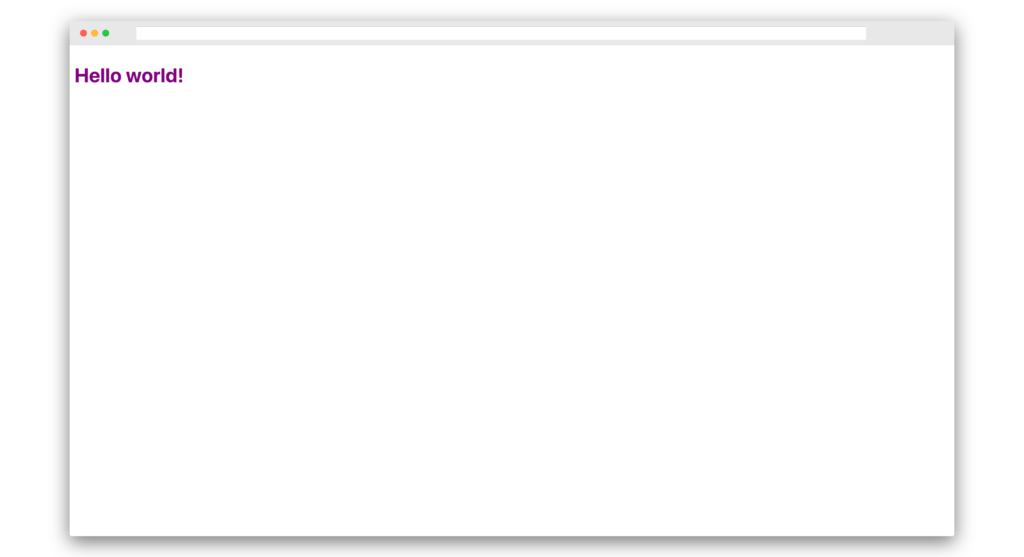
$ yarn devNow open up the browser and go to http://localhost:5000 and you should see the following:
If you go into the src/ folder, you’ll see two files, App.svelte and main.js. main.js is the entry point of a Svelte app.
Open up the main.js and you should see the following:
import App from './App.svelte';

const app = new App({
    target: document.body,
    props: {
        name: 'world'
    }
});

export default app;
The above file imports App.svelte and instantiates it using a target element. It puts the component on the DOM’s document.body. It also passes name props to the App component. This prop will be accessed in App.svelte.
Components in Svelte are written using .svelte files which contain HTML, CSS and JavaScript. This will look familiar if youse worked with Vue.
Now open up App.svelte and you should see the following:
Hello {name}!
Firstly, we have the script tag inside, in which we have a named export called name. This should be similar to the prop mentioned in main.js.
Then we have a style tag that lets us style all the elements in that particular file, which is scoped to that file only so there’s no issue of cascading.
Then, at the bottom, we have an h1 tag, inside which we have Hello {name}!. The name in curly brackets will be replaced by the actual value. This is called value interpolation. That’s why Hello world! is printed on the screen.
Basic Structure of a Svelte Component
All .svelte files will basically have the following structure:
The HTML markup will have some additional Svelte-specific syntax, but the rest is just plain HTML, CSS and JavaScript.
Making Tic Tac Toe in Svelte
Let’s get started with building our Tic Tac Toe game.
Replace main.js with the following:
import App from './App.svelte'

const app = new App({
  target: document.body,
})

export default app
We’ve basically removed the props property from App component instantiation.
Now replace App.svelte with the following:
{title}
{title}
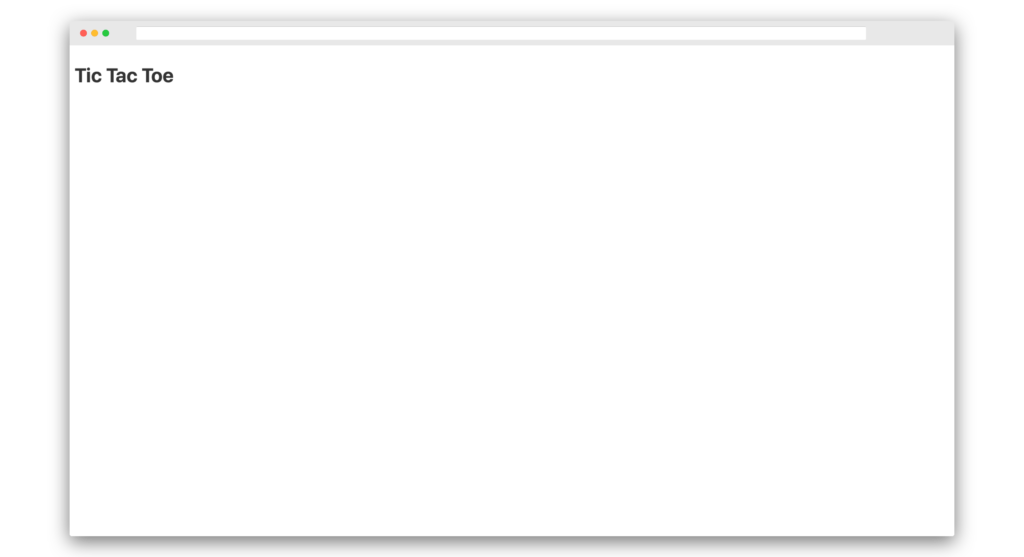
Here, we initialize a constant variable title with a string Tic Tac Toe.
Then, in the markup below, we use a special Svelte syntax, svelte:head, to set the title property in the head tag.
This is basically similar to doing this:
Tic Tac Toe
But the advantage of using the svelte:head syntax is that the title can be changed at runtime.
We then use the same title property in our h1 tag. It should now look like this:
Now create two other files in the src/ directory named Board.svelte and Square.svelte.
Open Square.svelte and paste in the following:
Basically, we’re creating a button and styling it.
Now open up Board.svelte and paste the following:
{#each squares as square, i}
Here we’ve imported the Square component. We’ve also initialized the squares array, which will contain our X and 0’s data which is currently null.
The post How to Build a Tic Tac Toe Game with Svelte appeared first on SitePoint.
