
In this tutorial, we’ll learn to build a web application with React and GraphQL. We’ll consume an API available from graphql-pokemon and serve it from this link, which allows you to get information about Pokémon.
GraphQL is a query language for APIs and a runtime for fulfilling those queries created by Facebook. GraphQL provides a complete and understandable description of the data in your API, gives clients the power to ask for exactly what they need and nothing more, makes it easier to evolve APIs over time, and enables powerful developer tools.
In this tutorial, we’ll only learn the front end of a GraphQL application that makes use of Apollo for fetching data from a ready GraphQL API hosted on the web.
Let’s get started with the prerequisites!
Prerequisites
There are a few prerequisites for this tutorial:
- recent versions of Node.js and npm installed on your system
- knowledge of JavaScript/ES6
- familiarity with React
If you don’t have Node and npm installed on your development machine, you can simply download the binaries for your system from the official website. You can also use NVM, a POSIX-compliant bash script to manage multiple active Node.js versions.
Installing create-react-app
Let’s install the create-react-app tool that allows you to quickly initialize and work with React projects.
Open a new terminal and run the following command:
npm install -g create-react-app
Note: You may need to use sudo before your command in Linux and macOS or use a command prompt with administrator rights if you get EACCESS errors when installing the package globally on your machine. You can also simply fix your npm permissions.
At the time of writing, this installs create-react-app v3.1.1.
Creating a React Project
Now we’re ready to create our React project.
Go back to your terminal and run the following command:
create-react-app react-pokemon
Next, navigate into your project’s folder and start the local development server:
cd react-pokemon
npm start
Go to http://localhost:3000 in your web browser to see your app up and running.
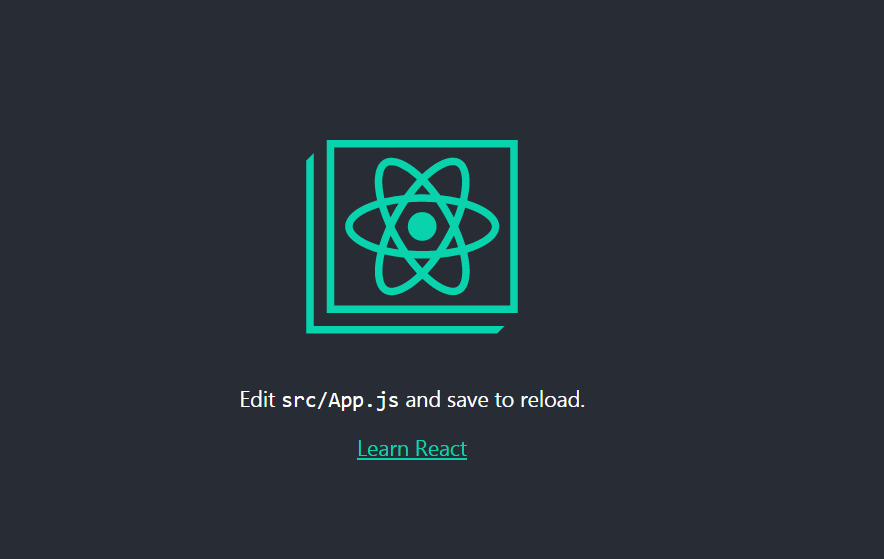
This is a screenshot of the app at this point:
Installing Apollo Client
Apollo Client is a complete data management solution that’s commonly used with React, but can be used with any other library or framework.
Apollo provides intelligent caching that enables it to be a single source of truth for the local and remote data in your application.
You’ll need to install the following packages in your React project to work with Apollo:
- graphql: the JavaScript reference implementation for GraphQL
- apollo-client: a fully-featured caching GraphQL client with integrations for React, Angular, and more
- apollo-cache-inmemory: the recommended cache implementation for Apollo Client 2.0
- apollo-link-http: the most common Apollo Link, a system of modular components for GraphQL networking
- react-apollo: this package allows you to fetch data from your GraphQL server and use it in building complex and reactive UIs using the React framework
- graphql-tag: this package provides helpful utilities for parsing GraphQL queries such as
gqltag.
Open a new terminal and navigate to your project’s folder, then run the following commands:
npm install graphql --save
npm install apollo-client --save
npm install apollo-cache-inmemory --save
npm install apollo-link-http --save
npm install react-apollo --save
npm install graphql-tag --save
Now that we’ve installed the necessary packages, we need to create an instance of ApolloClient.
Open the src/index.js file and add the following code:
import { ApolloClient } from 'apollo-client';
import { InMemoryCache } from 'apollo-cache-inmemory';
import { HttpLink } from 'apollo-link-http';

const cache = new InMemoryCache();
const link = new HttpLink({
  uri: 'https://graphql-pokemon.now.sh/'
})

const client = new ApolloClient({
  cache,
  link
})
We first create an instance of InMemoryCache, then an instance of HttpLink and we pass in our GraphQL API URI. Next, we create an instance of ApolloClient and we provide the cache and link instances.
Connect the Apollo Client to React Components
After creating the instance of ApolloClient, we need to connect it to our React component(s).
We’ll use the new Apollo hooks, which allows us to easily bind GraphQL operations to our UI.
We can connect Apollo Client to our React app by simply wrapping the root App component with the ApolloProvider component — which is exported from the @apollo/react-hooks package — and passing the client instance via the client prop.
The ApolloProvider component is similar to React’s Context provider. It wraps your React app and places the client in the context, which enables you to access it from anywhere in your app.
Now let’s import the ApolloProvider component in our src/index.js file and wrap the App component as follows:
The post How to Build a Web App with GraphQL and React appeared first on SitePoint.
