Nowadays, bots are being used for automating various tasks. Since the release of Amazon’s Alexa devices, the hype surrounding automation bots has only started to grow. Besides Alexa, other communication tools like Discord and Telegram offer APIs to develop custom bots.
This article will solely focus on creating your first bot with the exposed Discord API. Maybe the most well-known Discord bot is the Music Bot. The music bot lets you type a song name and the bot will attach a new user to your channel who plays the requested song. It’s a commonly used bot among younger people on gaming or streaming servers.
Let’s get started with creating a custom Discord bot.
Prerequisites
- Node.js v10 or higher installed (basic knowledge)
- a Discord account and Discord client
- basic knowledge of using a terminal
Step 1: Setup Test Server
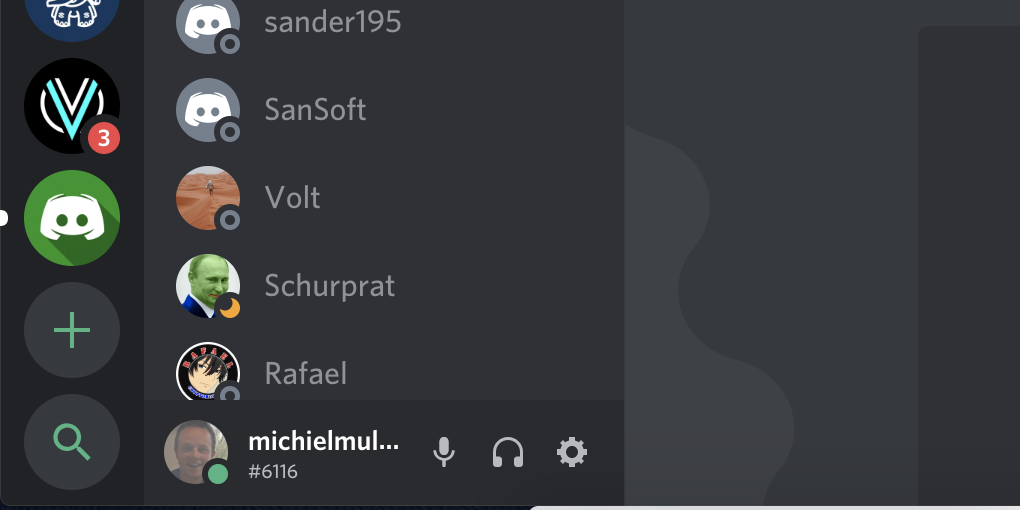
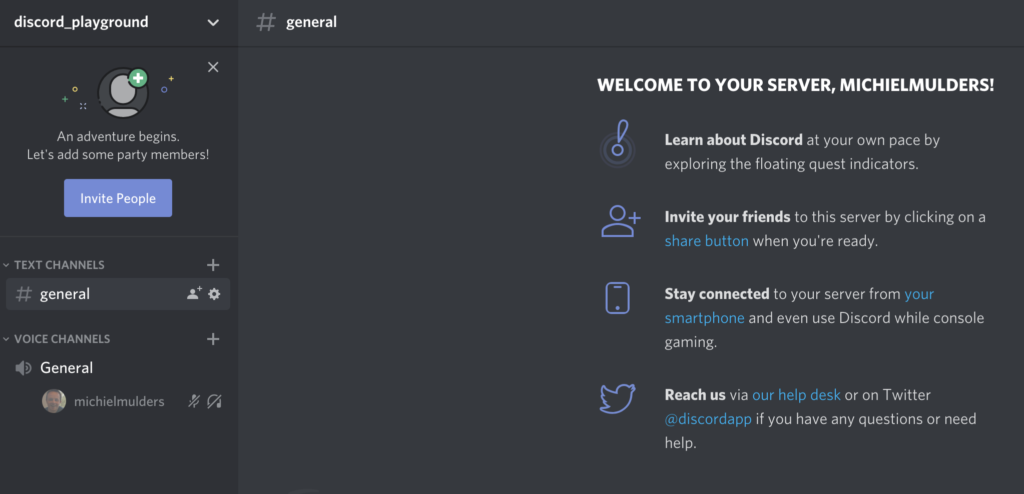
First of all, we need a test server on which we can later test our Discord bot. We can create a new server by clicking the plus icon in the left bottom corner.
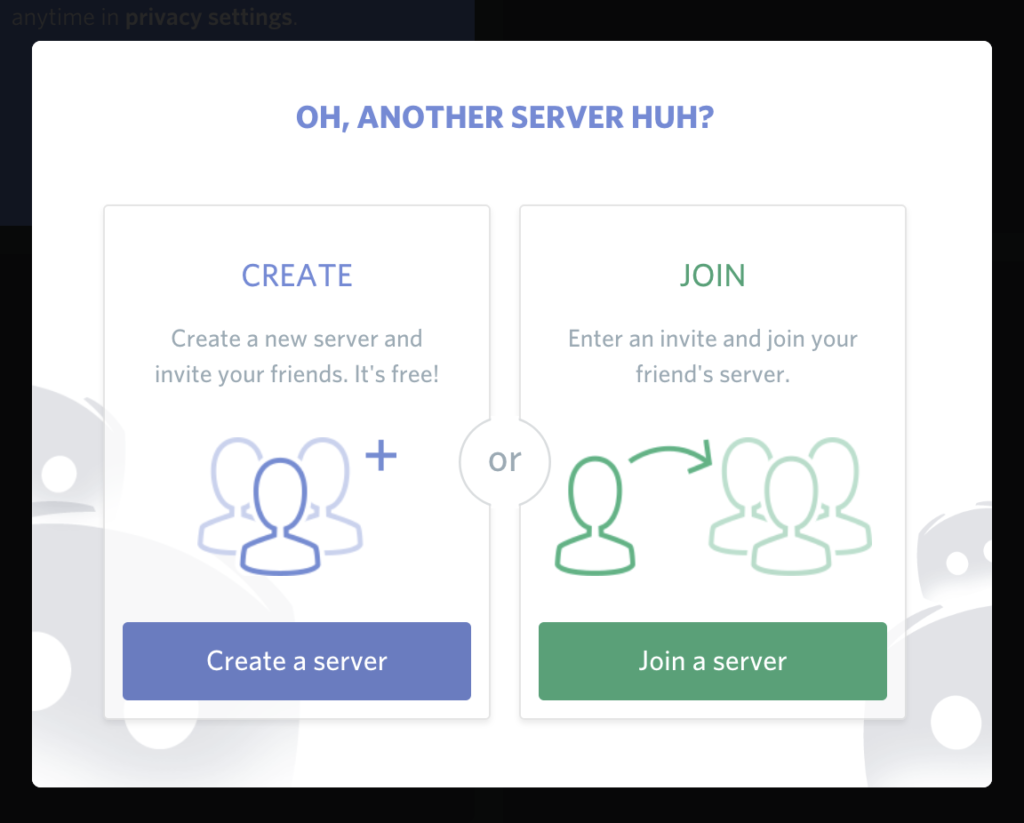
A pop-up will be displayed that asks you if you want to join a server or create a new one. Of course, we want to create a new server.
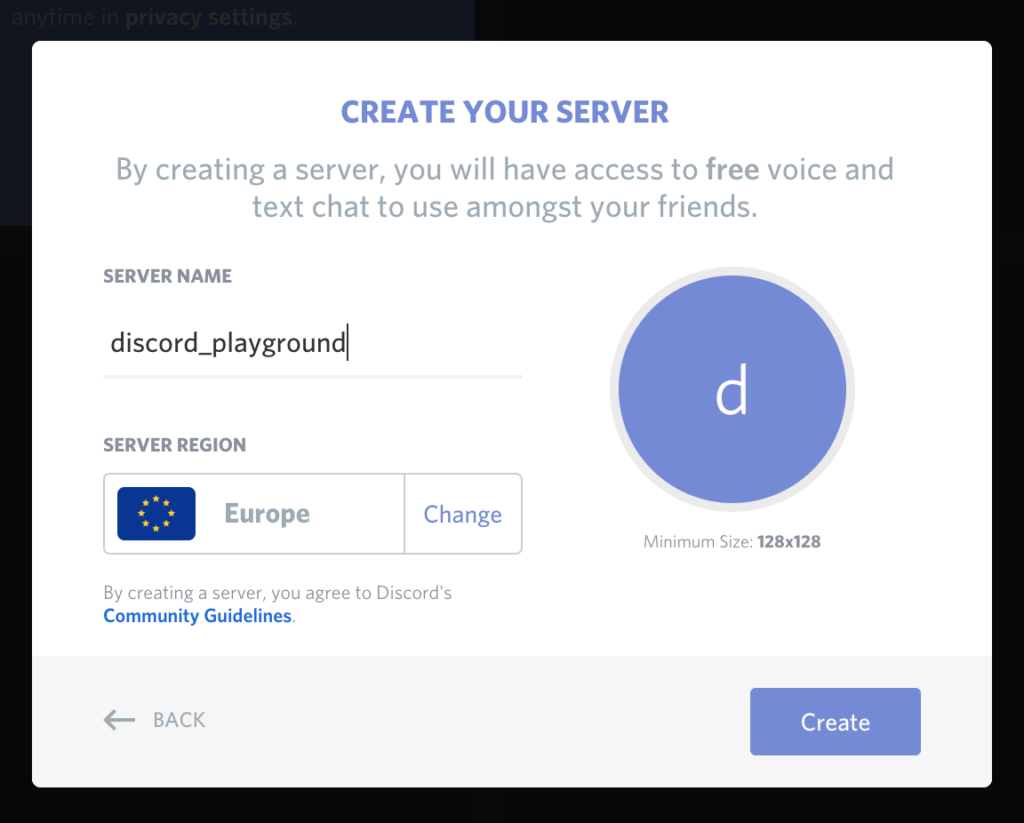
Next, we need to input the name for our server. To keep things simple, I’ve named the server discord_playground. If you want, you can change the server location depending on where you’re located to get a better ping.
If everything went well, you should see your newly created server.
Step 2: Generating Auth Token
When we want to control our bot via code, we need to register the bot first under our Discord account.
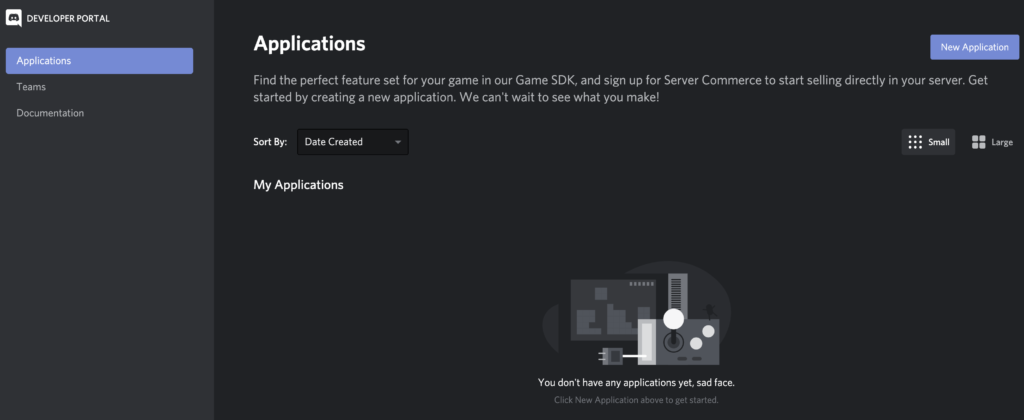
To register the bot, go to the Discord Developers Portal and log in with your account.
After logging in, you should be able to see the dashboard. Let’s create a new application by clicking the New Application button.
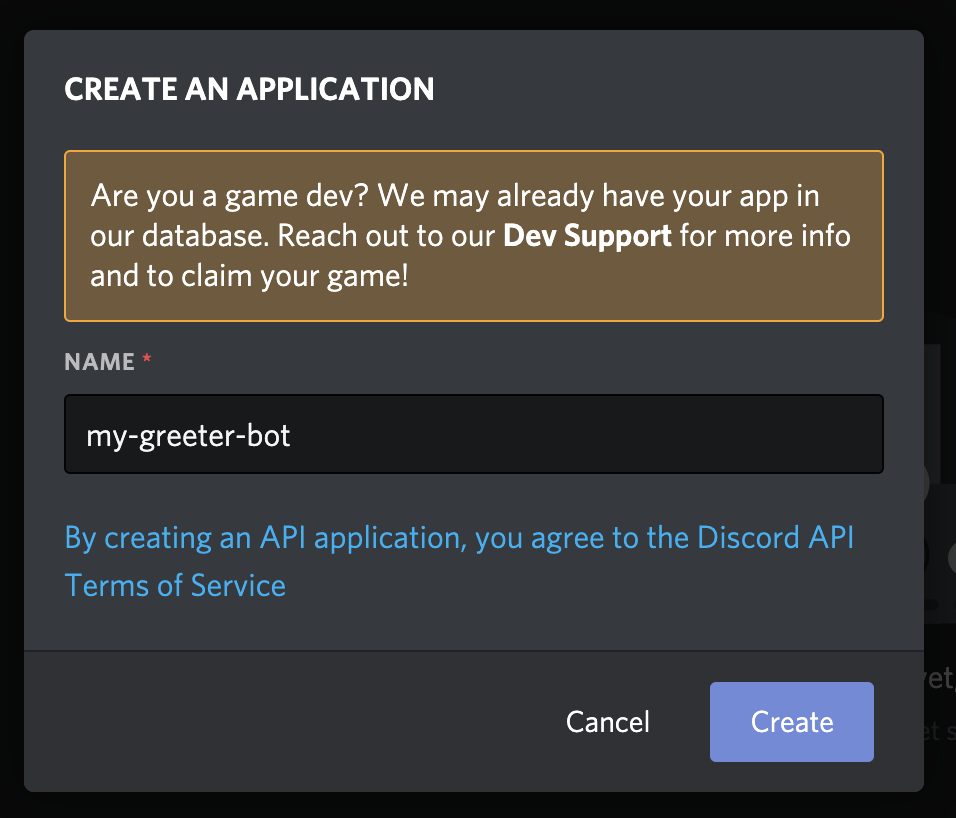
Next, you’ll see a pop-up that asks you to input a name for your application. Let’s call our bot my-greeter-bot. By clicking the Create button, Discord will create an API application.
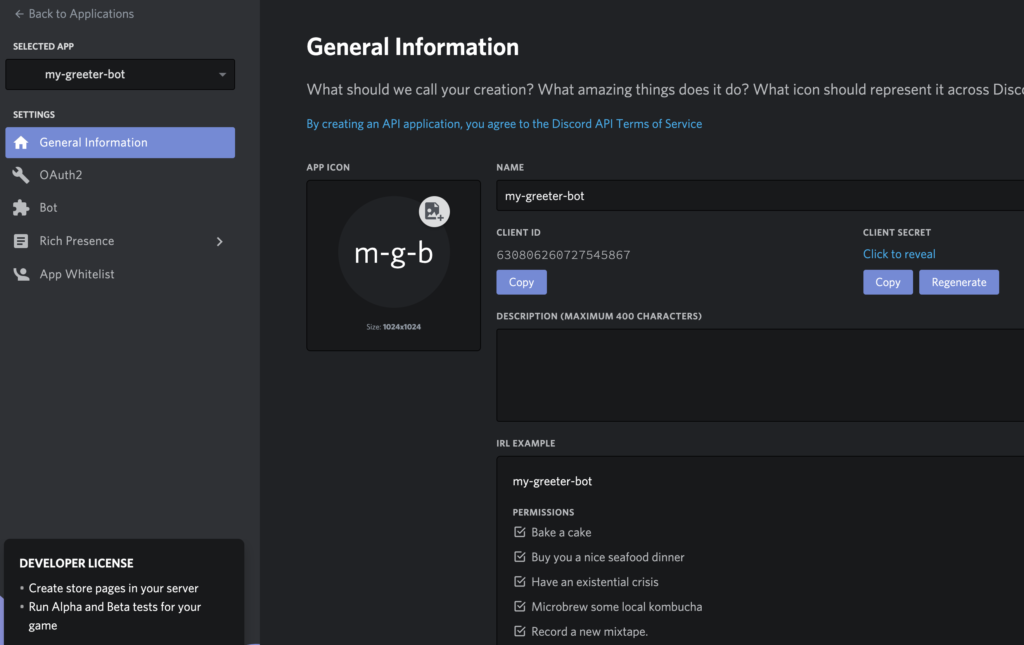
When the application has been created, you’ll see the overview of the newly created my-greeter-bot application. You’ll see information like a client ID and client secret. This secret will be used later as the authorization token.
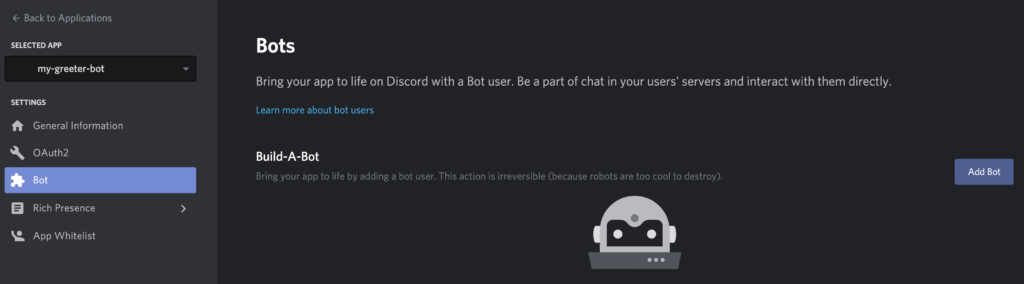
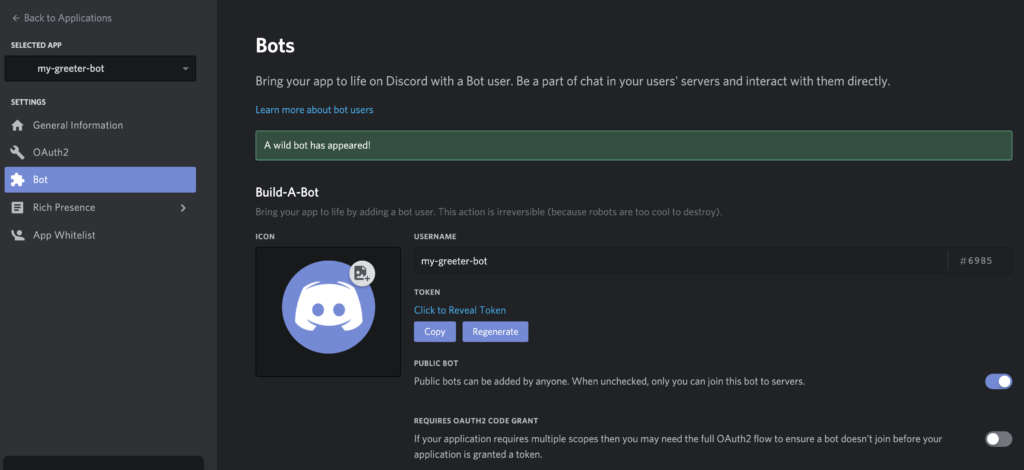
Now, click on the Bot menu option in the Settings menu. Discord will build our my-greeter-bot application and add a bot user to it.
When the bot has been built, you get an overview of your custom bot. Take a look at the Token section. Copy this authorization token and write it down somewhere, as we’ll need it later to connect to our bot user.
The post How to Build Your First Discord Bot with Node.js appeared first on SitePoint.
